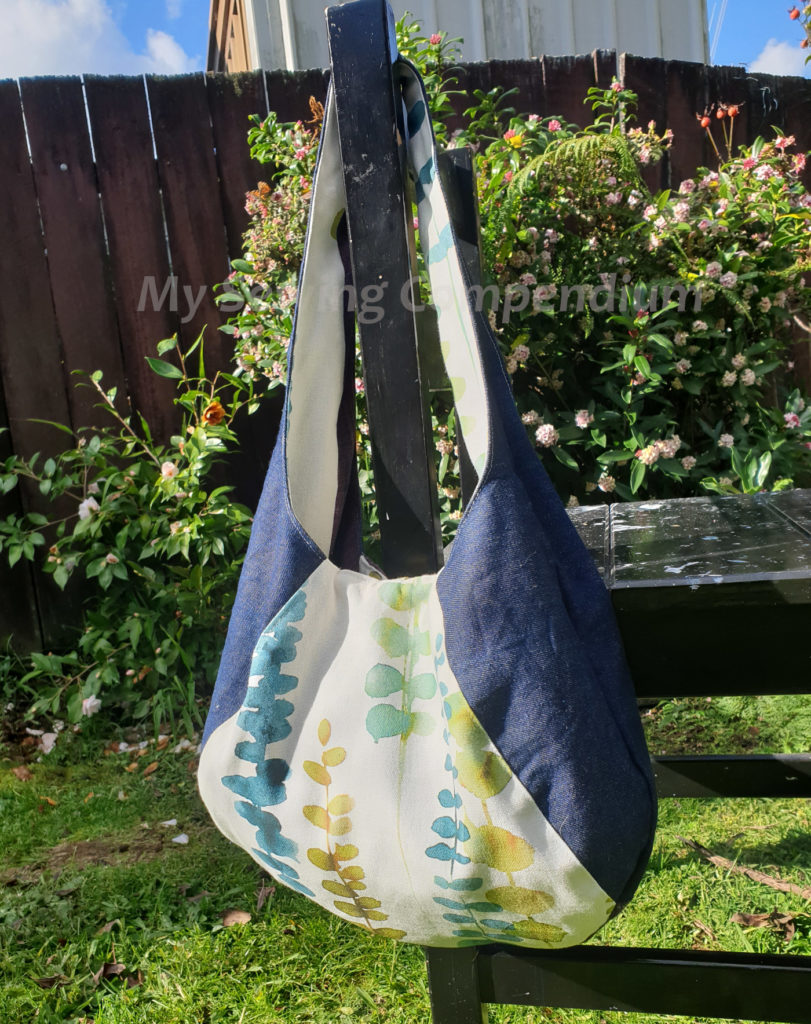
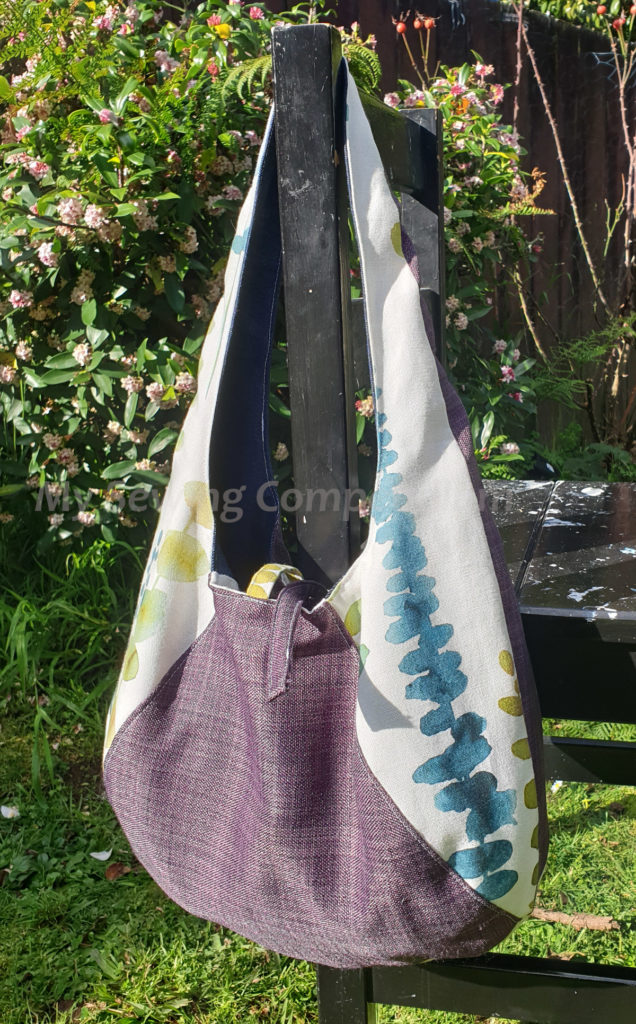
First time sewing the Swoon Laney Hobo bag.
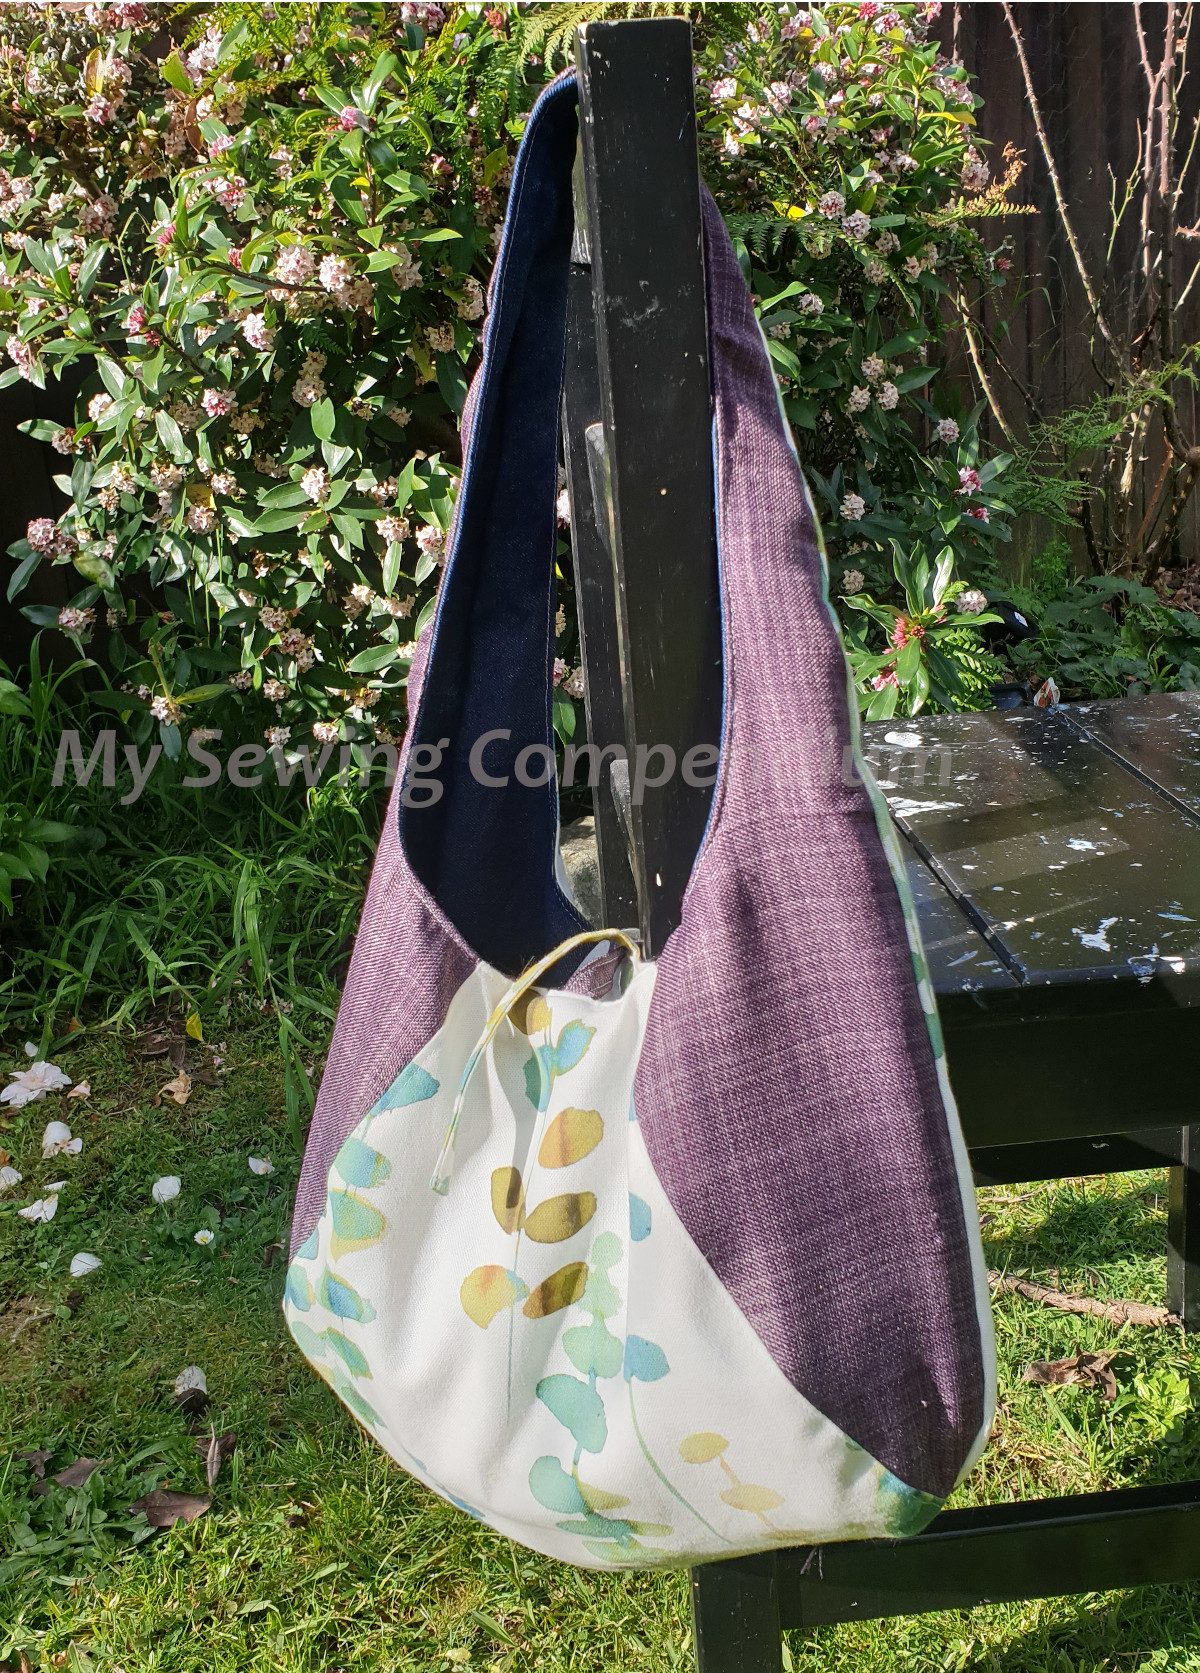
Overall Thoughts
I really like this pattern, it’s beginner friendly, only 4 pages to print out, it’s pretty simple to put together, the instructions with the pattern are nice and straight forward, with good pictures. And perhaps best of all it’s free! If you want to download this pattern then head over to swoonpatterns.com.
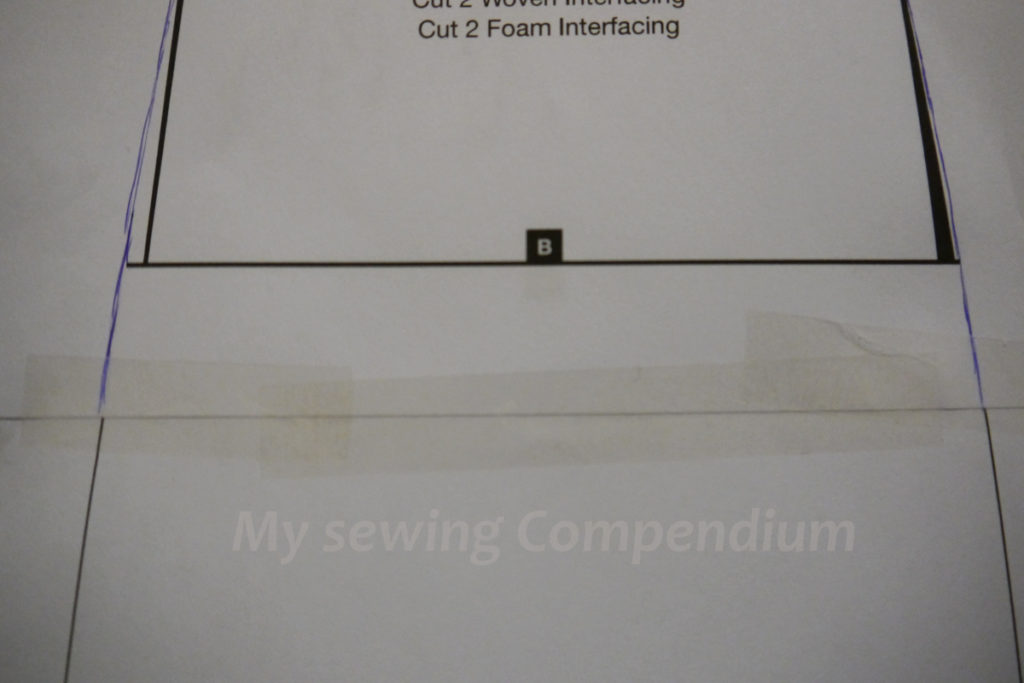
To start with, download and give the pattern a quick read through. Only the last 4 pages need to be printed out. Unfortunately I did have an issue with my printer not printing it super nicely and randomly decided to twist two of the pattern lines. If your printer does do this I found that I had to go into advanced printer settings and make sure to print as an image. Otherwise if you are a bit more like me and don’t want to waste any extra paper then just stick the pages together while looking at your screen for reference and put the lines where they look like they should go.
I also really like with this pattern that there are only 3 pattern pieces, each one has the name of the pattern on it (excellent for when they end up in a big pile on the table with other pattern pieces) and there is a lovely big 3 inch test square to make sure your printer has been behaving itself.
Pattern Options
For this bag I went with the longer strap/ handle option.
Fabrics
The pattern calls for Pellon Shapeflex SF101, I decided to leave out interfacing all together, I’m using some mid-heavy weight decorator fabric, lined curtain (the purple) and some random denim that I found. It is the first time I’m making this bag and most of the fabric was free (I have an awesome sister who works at a furnishing company and will dive through the scrap bin for me, looking for anything that’s a decent size). The purple curtain fabric I got from Spotlight, it was a 75% off remnant, only about a ½ meter so I think it cost me about $2.
I do tend to collect cheap or free fabrics when I find them, they are excellent for testing out new patterns.
So all my fabric picks for this make are significantly thicker than quilting weight cotton recommended in the pattern, if you do want to use a quilting weight then I would recommend using some interfacing.
One thing I normally do before cutting into my fabric is to wash and iron it, not always but probably around 90% of the time. I find this
- Gets rid of all sorts of nasty chemicals so your not getting them all over you hands,
- Letting it “settle” into its shape. If it’s going to shrink or stretch out you want it to do so before sewing it up.
- Let any excess of colours come out. Nothing worse than having something you are wearing get damp and then start bleeding colour onto you, or whatever its touching.
This time I didn’t wash my fabrics first, mostly as I was feeling lazy but also because I just wanted to sew this pattern up and see what it looked like.
Much quicker with no interfacing to worry about, I had this downloaded, printed, cut pattern and fabric out in under an hour ready to start.
Setting up my sewing machine.
Sewing up this bag I just used my Singer 4411HD, I changed the needle to a Jeans 90/14, I’ve somehow ended up with two packs of these needles that haven’t really been touched so they might as well get some use. If you are going to buy needles especially for making this or other bags then you would probably be better off with a mixed pack of microtex needles. Unless of course if you want to make your bags out of denim, I fully support this, then the good old trusty jeans needles will be your best bet.
While constructing, I had my stitch length set to 2.5, tension at 5 and used white gutermann standard polyester thread. These settings work well on my machine (Singer 4411), but always best to get some fabric off cuts of the material you are using and play around with the settings on your own machine to see what works best.
Begin sewing
This first step looks pretty weird, I started at the top and worked down. The bottom edges of the two fabrics are not lining up well at all…….. Decide to carry on and see what happens here.
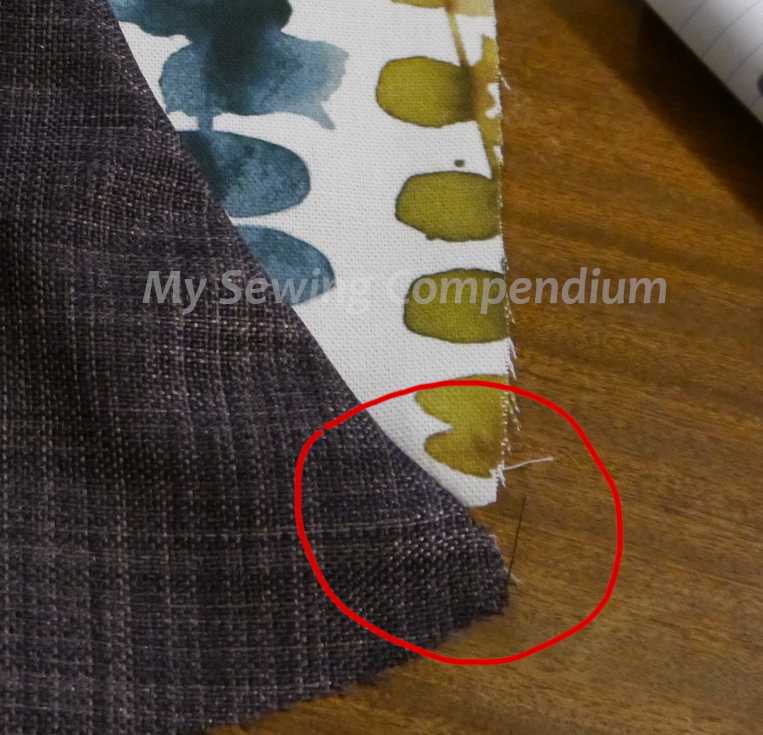
Doing the opposite side I realise that my purple fabric is a pretty loose weave and is stretching out as I sew it, while my leaf upholstery fabric has stayed steady and not stretched at all. Mystery solved as to why my first piece did not line up well. Solution; the lazy approach, give the bottom an extra wide seam allowance when I attach the two sides.
On to the second set and I realise I didn’t cut out enough sides, this is when I saw some old denim that had been given to me, as I already had a jeans needle in the machine I decided to go with it. I do enjoy mixing up fabrics together, it is the best way to see if something is going to work or not.
For topstitching down the seams I changed my stitch length to 3.5. I just finger pressed the seams down for a minute before stitching and held them flat as sewing. If you wanted to make these bags up for presents or even selling then I would recommend ironing the seams with a tailor’s ham before topstitching, it would give a neater result.
Tie Closures
This is all new to me, I needed to reread this section more than once before I got the idea, I’ve added a couple of photos as I find visual aids to often be more helpful to get an idea across.

To be honest, doing this again – I’d probably just go and find some nice ribbon or something to use, or even an elastic loop on one side and a button on the other. These tie closures and a bit on the fiddly side to get them to come out tidy looking.
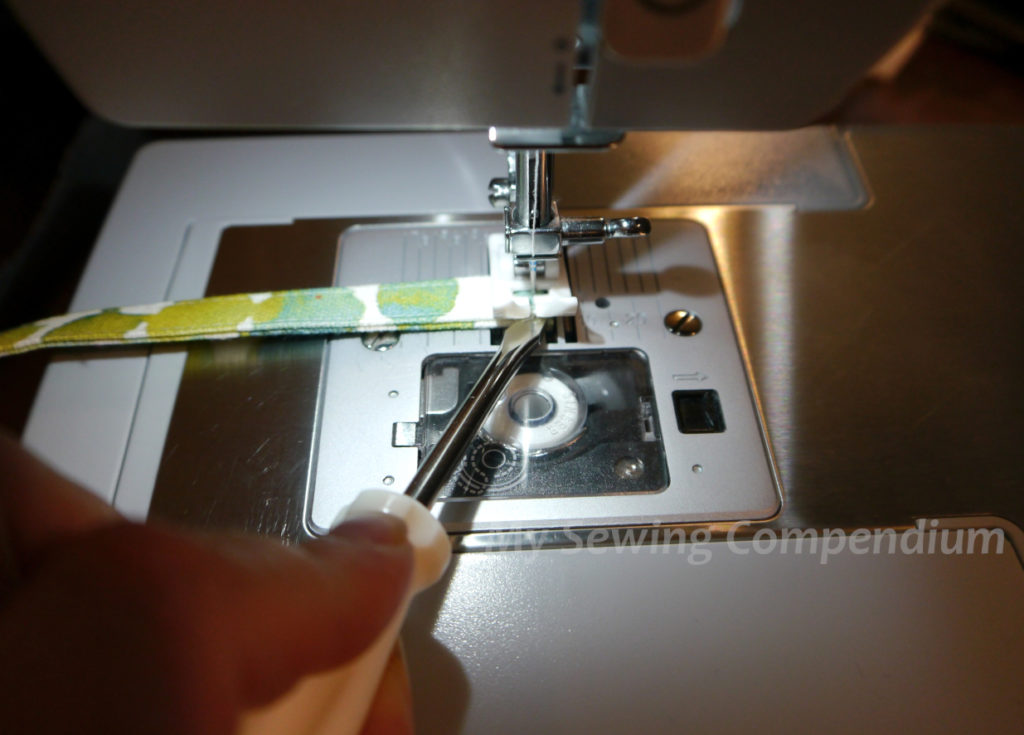
Getting my machine to get over the top end of the tie closures was probably the hardest part of the whole make, both for me and my machine. It is such a small piece of fabric that the feed dogs really struggled to grab a decent hold, and the thickness of all the layers really didn’t help. In the end I managed to hand crank the sewing machine while using my handy screwdriver to press and push the fabric through. I would really recommend that your foot is nowhere near the pedal if you need to go this way, one small bump could see you running over the screwdriver. I personally consider a snapped needle and possibly throwing out your machines timing to be a fail.
All this frustration however was with making these ties out of upholstery canvas, if you go for the recommended quilting weight cotton then it will most likely be a far more pleasant experience.
I’m starting to think that this loose weave curtain material is not the greatest for making bags out of. But hey, I’ve tried it now and learnt something new.
Some random tips
For finding the middle, I just folded the main part in half and used a marker pen to make a small mark, that way when I fumble with attaching the ties then I can quickly line them back up again.
When it comes to “assembling the bag” depending on how confident you are with putting bags together, you may want to spend and extra minute to line the bags up properly along the bottom and then start at the middle and sew out, flip and repeat, rather that starting at the top of a side panel and going right around. I find this helps to keep things more…….. Symmetrical.
Also keep to the ½ inch seam allowance, I keep drifting back towards ⅜’s but the ½ inch will help to hide the bits that don’t join up too well.
Don’t forget to leave that 3inch gap along one of the centre panels! I should have probably done the start from the middle and sew out technique again for attaching the outer bag to the lining, it would have made it that little bit neater again. However by this time I just wanted to get the bag finished and see what it looked like.
Before turning right side out, I find it really pays to take a minute to look for any edges that you didn’t quite get and go over them again. It’s a much bigger pain if you notice them after you have turned out and spent time pressing out the seams.
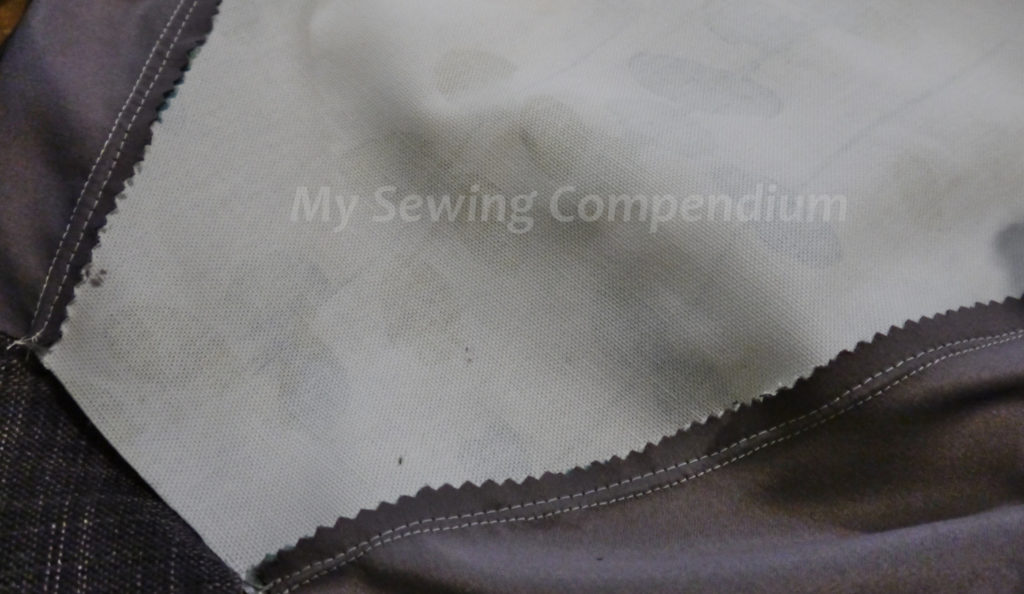
Last thing before turning the bag right sides out was to use pinking shears to trim along all the seam allowances, this helps stop woven fabric from fraying as much and can significantly increase the lifespan of your bag. One down side of the pinking shears is that they can leave a right fluffy mess behind! (not so big a deal if you had used iron on interfacing as this would stop fraying also).
I did lose my tie on the open side of the bag while it went through the birthing process, but it was easy enough to reattach, and I made sure to backstitch over it when I top stitched closed the birthing gap.
If I had paid attention to the purple fabric and how loose it was, and how much give it had then I might have had the forethought to use some iron on woven interfacing to give it a bit more structure and stop it from stretching out. Otherwise I’m going to recommend not using anything with a loose weave (unless you interface it first).
Pros and Cons
Some things I love about this is that it is such a quick and easy sew up, it doesn’t use a large amount of fabric and it looks good enough that you can happily give it away as a present. It’s a great pattern to try out new things with different fabric choices, different interfacing ( I know here in NZ it can be difficult to get the interfacing recommended by the pattern).
I would think most sewing machines should be able to handle the layers involved easily. I did have to slow down to go over some of the thicker seams and give it a bit of a gentle prod or pull as needed but it wasn’t often and I was using reasonably thick materials.
All up I spent around 4 hours making up this bag, and I’m not the quickest sewist. If you did want to make up a batch of these as presents or for selling then it would be fairly realistic that you could get these made up in around 2 hours each.
The no interfacing option left a bit of a floppy bag but i like it, it’s easy to roll up and have in the car or at the bottom of a backpack for those times when an extra bag would be handy. The ties also make it easy to tie up into a tidy little bundle to have ready when needed. Being reversible also means that I could have a colourful pattern on one side and solid colours or monochrome on the other-side and swap around as the mood takes me.
I am happy that I went with the longer strap option, I feel like the shorter option would have been right up under my armpit, which is not my preferred location for a bag.
Things to have a try next time
Next time, I might make it just a little deeper and wider, possibly add a top zip and an inside pocket. I think cutting the pattern strap short and adding a webbing strap with an adjustable slider would look good and it would make it able to be worn cross body. Instead of being reversible I’m keen to try the pattern with a vinyl outer and a woven cotton inside.
