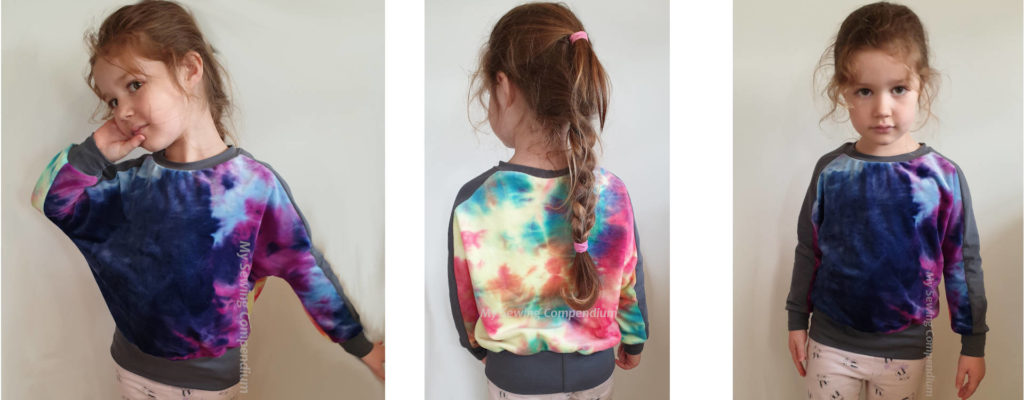
Sewing up kids batwing tops with a free pattern.

So today I decided that I better make something up for my friend’s twins birthday…. tomorrow. After spending possibly more time on trying to decide what to sew and fabric to use, I finally decided on the LittleKiwis Closet Batwing Top, which you can find here. The fabric I went with was minky (I think similar to squish fabric but only fluffy on the one side?) and cotton lycra.

I did manage to get them both tops done in just over 4hrs start to finish and luckily got 90% of the work done while my child was at school. This was me going all out to try and get them done, I am typically more of a slow and steady sewist, especially with a new pattern, but this is a great and pretty simple pattern to follow with a pretty decent tutorial booklet/PDF to go with it. I constructed these tops completely with my Janome 644D overlocker/serger. Also Free!
One thing I did learn is that normally I add pockets to everything but this time, I simply followed the pattern, and not adding pockets is so much faster!
Want to save paper and print less pages?
You also get the measurements for waist and cuff bands so there is the option to not print them out and save a couple of pages. If you do print them out you are still going to need to cut out the neck band by measurements only, if you have a lovely big quilters ruler it makes this much easier! The waistband and cuff pattern pieces take up two pages, with out them the rest of the pattern takes up only 2 pages if you are doing sizes 0-6months, sizes 6months and up use 5 pages.
After printing the pattern off, there doesn’t seem to be a page in the tutorial on the best way to line up the pattern pages other than “so the grey lines meet”, in their website FAQ section it does suggest trimming the pages, I just went ahead using my trusty light box (a upturned plastic storage container with a lamp underneath) to line up the pages and tape the sides down without trimming. It is pretty intuitive, give it a go, line bits up and most likely you will get it right the first time.
What fabric is that?
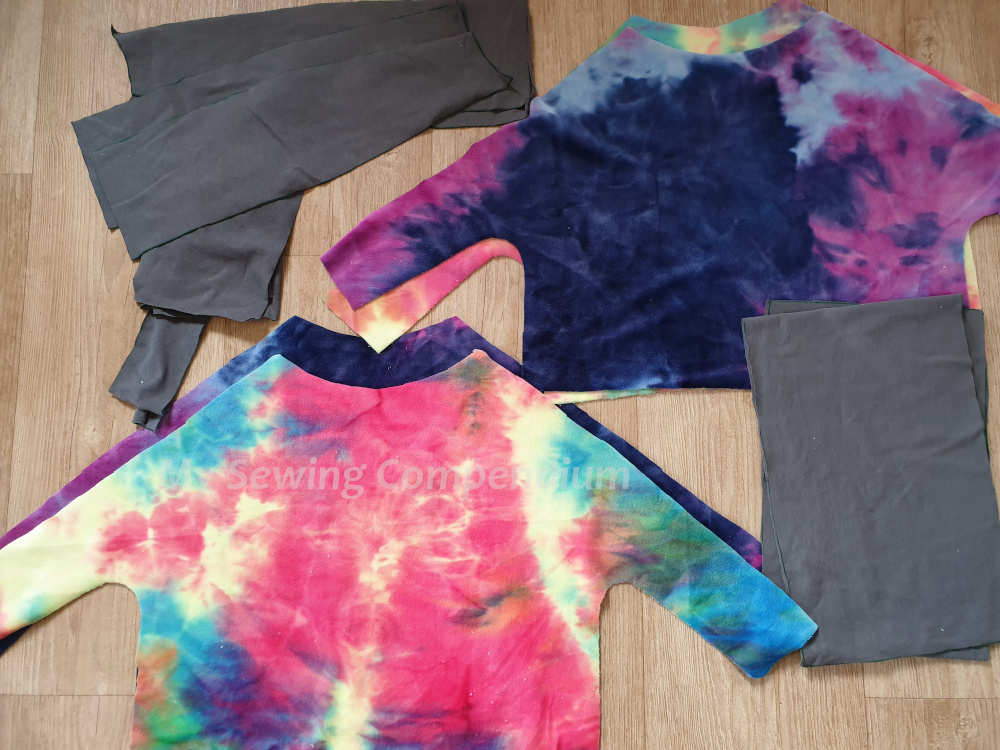
Constructing these I used minky fleece fabric from Lincraft to construct the front and back body pieces, it has pretty good stretch around 35% but only horizontally, there is almost no stretch vertically. The bands and top of the arms are made using a medium weight cotton lycra, I think it is just some stuff I got from Spotlight. The CL is probably slightly lighter in weight that the minky, but it seems to be close enough that the minky shouldn’t pull the CL out of shape. Ideally you would probably want both fabrics the same weight or use the lighter fabric for the front and back pieces.
Getting Started

I do find it handy when cutting the fabric out to not fully cut off the neck band pattern piece for when you go from front piece to back piece, I just leave a bit hanging so I can fold it over and reuse the pattern piece many times over. Another thing I find handy is using paperclips to hold down the pattern, especially when it is on the fold, they help to press down fluffy fabric and to stop slippery fabric from moving around too much.
I have to admit, I was originally going to do one of each colour of these tops , however I thought it would be a bit more fun to mix them up so I swapped the tops over once they were all cut out.
After cutting out, I checked what needles were in my overlocker/serger (serger if you are from North America, overlocker for pretty much everywhere else). I still had 90/14 super stretch needles in from my last project and decided to leave them in as I was using fairly mid weight fabrics.
I did change the colour in my overlocker, did the tie off and pull through method, which almost worked this time (I find it’s around 50:50) however my upper looper thread broke and so there was a good 5min of fiddling and fussing until we had things running smoothly.
Once I actually got started sewing, I had my differential feed set to 1.25 so I didn’t stretch out the fabric, stitch length set to 3 and medium pressure on the presser foot (usually a screw or knob above the presser foot). These may not be the settings that work best for you but this is mostly notes for me and my machines, always a good idea to cut off a bit of the fabric you are working with and have a bit of a play around with your own settings before starting on your pattern pieces.
Side note, where you can, use clips instead of pins when overlocking, accidentally running over a pin can damage your blade and mess up your timing.
Prep Over, Start Sewing!
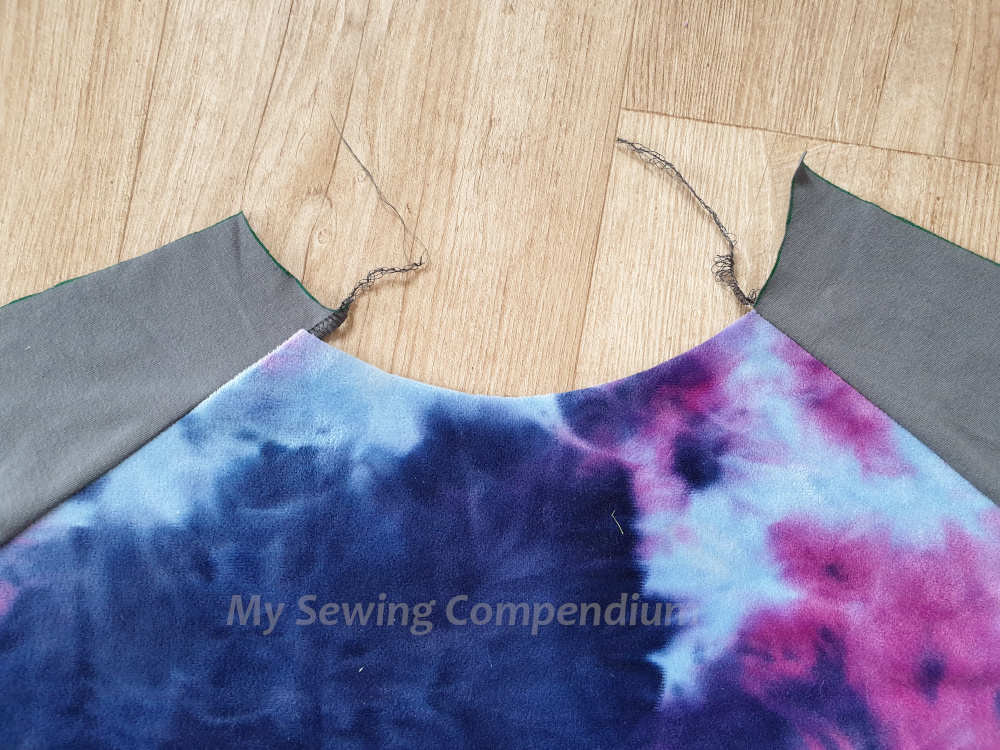
Step one – The first sleeve I add on, a bit odd that there is a bit of overhang both at the cuff end and around the neck, add sleeve to other side and realise that I of course, on my first seam had attached the wrong sleeve to the wrong side. I spent a few minutes trying to decide if I could get away with this, maybe just be overzealous when overlocking the cuffs and neckband to try and hide my mistake. Sadly I concluded no, not a good way to start off a project, so I begrudgingly got out the “quick” unpick and begin, it should only take a few minutes. 5 minutes into this thankless task and I begin to regret my decision, 5 minutes further in and the regret has only grown. The seam may look short, like it wouldn’t take long to unpick but it is all a deception, or I have yet to find a good technique to unpick an overlocked seam. A good 15 minutes total (felt longer) and we are finally done – I won’t be in a hurry to make that mistake again!

My next problem is that I now have one sleeve that has already had the seam allowance taken off it and one front piece that has also had the seam allowance taken off the side. Some very slow and headache-inducing sewing now happens, as I attempt to trimm ⅛” off the correct sleeve, without trimming any more off the front piece. While this is a great exercise in foot pedal control and concentration, I don’t recommend this particular learning experience if you can avoid it, re-cutting out the pieces would have been faster, but I just hate wasting good fabric if I can avoid it!
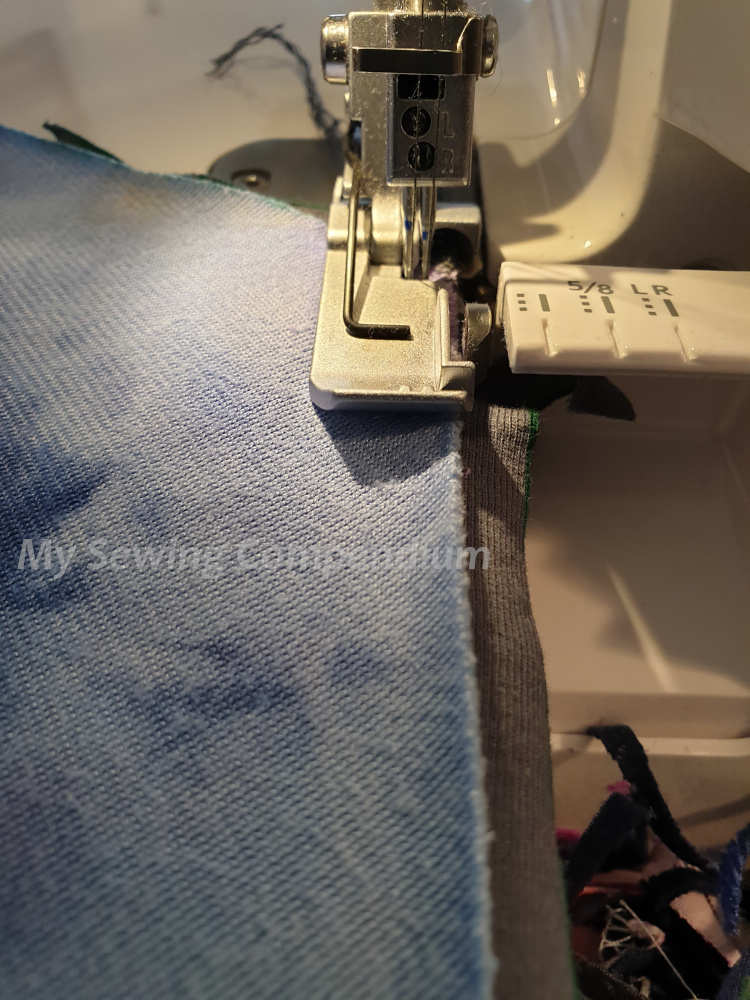
About now a part of me is starting to wonder just how much I like these kids, I could just run down to the shops and grab some cheap colouring in books. To be fair I had weeks of notice for this birthday, and weeks of ideas in my head that I was going to start “tomorrow”, Starting this on Friday for a party on Saturday morning I have no one to blame but myself.
Time to carry on with the rest of the top. I nearly have a small heart attack thinking I have gone ahead and done the same thing to the other sleeve, there is an overwhelming feeling of thankfulness when I realise that I have in fact got it right this time.
The next few steps are pretty straightforward and easy to follow in the tutorial that comes with the pattern.
Next we get to the super fiddly little cuffs. Size 5 isn’t too bad but I think I would seriously struggle with the little sizes.
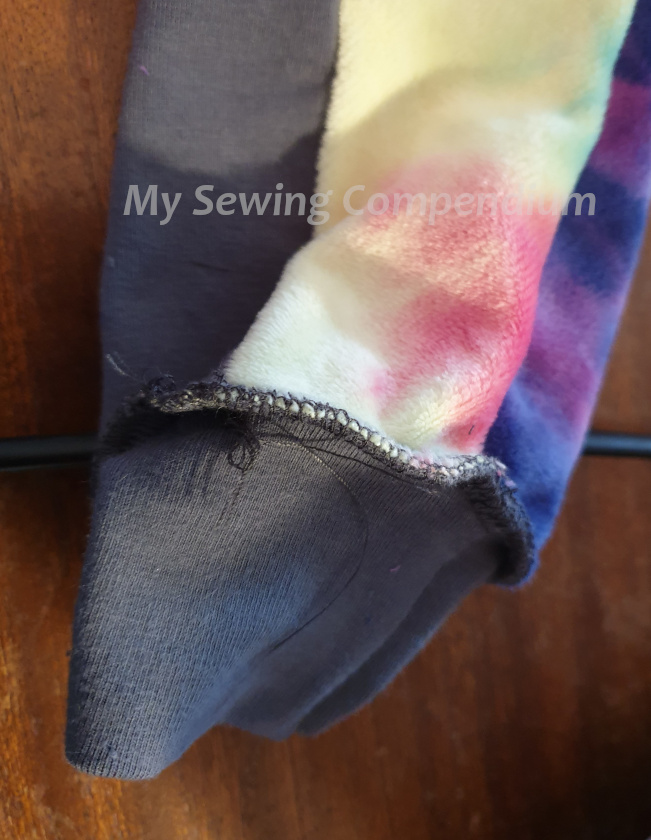
Time to start on top two, starting oh so carefully with that front panel that already has the seam allowance trimmed down on the one side. Top two was going smashingly well all the way until I got to the first cuff and forgot to turn the top to right way out before attaching the cuff. I had been going so well until this point, over half done in under 15minutes. I had a serious think at this point about leaving it as a design feature and doing the other cuff the same way, but lets be honest here, it really didn’t look good.
I’m starting to wonder if I need a new quick unpick – the one I got with my sewing machine nearly 2 years ago doesn’t seem to be so sharp anymore.
After unpicking the cuff (thankfully a much smaller seam), re attaching it – the right way around this time – without trimming off any of the fabric with my overlocker / serger…….. this involved a fair amount of swearing and the end result was a bit unsuccessful. I did remember to be pretty generous with the seam allowance when I attached the other cuff and they seem to line up well. I don’t think there will be any noticeable difference between the two tops.
Now I’m pretty excited when the waistbands go on nicely and I can finally be finished!
Final thoughts
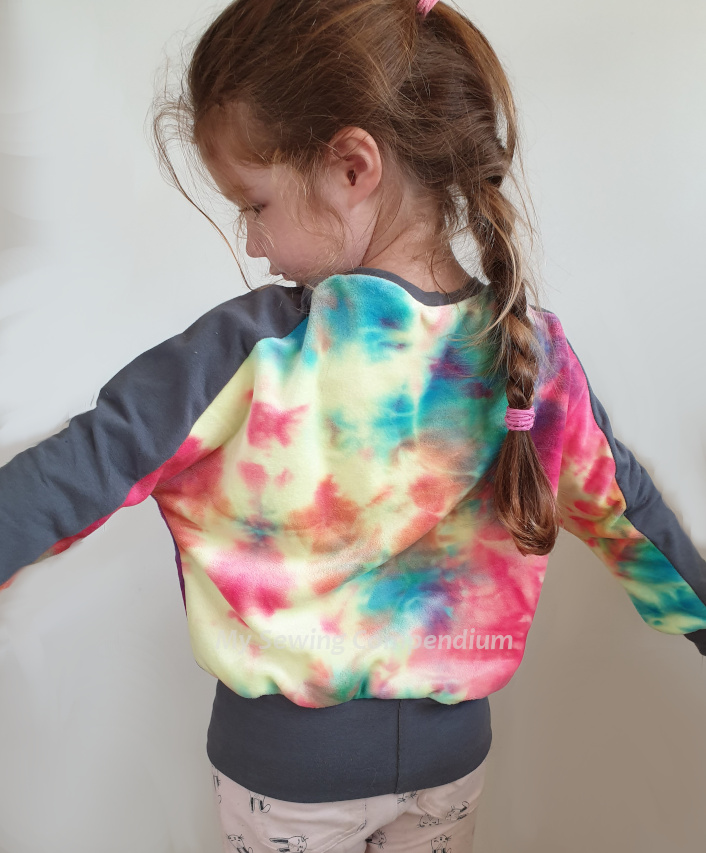
Overall I found this to be a great pattern, it is quick, fairly easy and the end product looks great!
The pattern does suggest a sewing level of advanced beginner, I feel that as long as you go slow and steady with this it is pretty easy to follow for a modest beginner, possibly a good starting pattern if it is your first time working with knit fabrics.
If you don’t have an overlocker / serger then next best is using a sewing machine that has the little tripled straight stitches for stretch sewing.
If you are going to use something like minky then keep in mind that there is a definite up and down on the fabric ( the way that you brush the fibres) so make sure you get the direction the same on the front and the back panel.
I think my biggest complaint about this pattern is that it is only for sizes 0-5years, however it is a free pattern so it is definitely an overall win for me. Also LittleKiwis Closet allow the pattern for both personal use and for small scale sale by small home businesses, all they ask is that you credit the pattern back to them.
